Clothing Photography Tips: How to Photograph Clothes for Ecommerce
Essential clothing photography tips to capture perfect shots of your apparel. Learn lighting tricks, composition techniques, and how to photograph clothes for your ecommerce store.

High-Quality Clothing Photography is considered one of the most valuable assets for today's e-commerce work. Why shouldn't it be?
It helps your Apparel Industry showcase its best light. Customers will see your clothing images first before clicking on "Add to cart". It basically can be a deal-breaker or a maker!
In this ever-evolving trend of fashion, photographing clothes is more than just capturing them. It's about storytelling through fabric and stitching. It creates a mood and serves as a window for your brand.
To photograph clothes for your e-commerce platform, you certainly need to learn some tricks and follow some photography tips. It's not as tricky as jewelry photography, but that doesn't mean you'll ignore all the small details of the fabric. You need to get it right.
And that's why we cover here all the step-by-step details about how to capture clothes to sell online that guarantee to attract buyers. Here you'll find everything that helps you prepare for clothing photography.
Types of Clothing Photography You Should Know
Well, there isn't just one way to take photos of your clothes. There are several ways you can capture every aspect of your fabrics. Learning and knowing about all the different types helps you present the most suitable options for your online store.
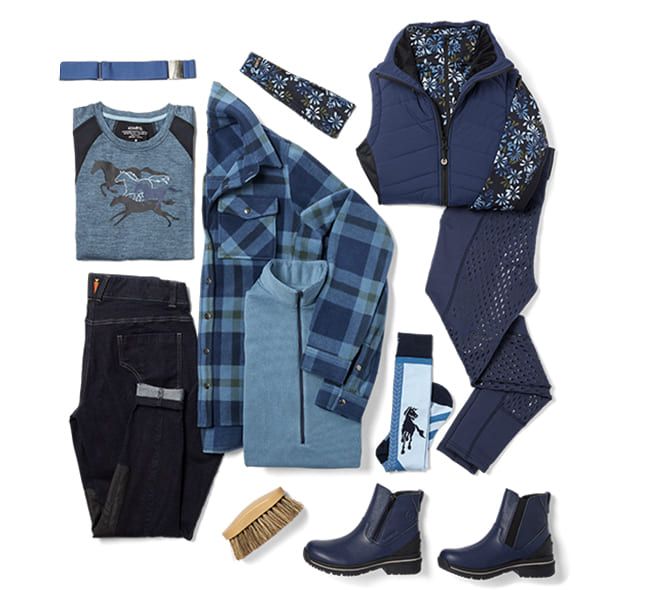
Flat Lay Clothing Photography:
This method involves presenting your clothes on a flat surface. It helps showcase the fully styled look in just a single shoot. Customers get an idea of which clothing pairs well with shoes, bags, or accessories. Here, you're aesthetically providing complete outfit ideas. Such photography works wonders on social media platforms such as Pinterest and Instagram. If it makes sense for your website, you can upload such photos there too.
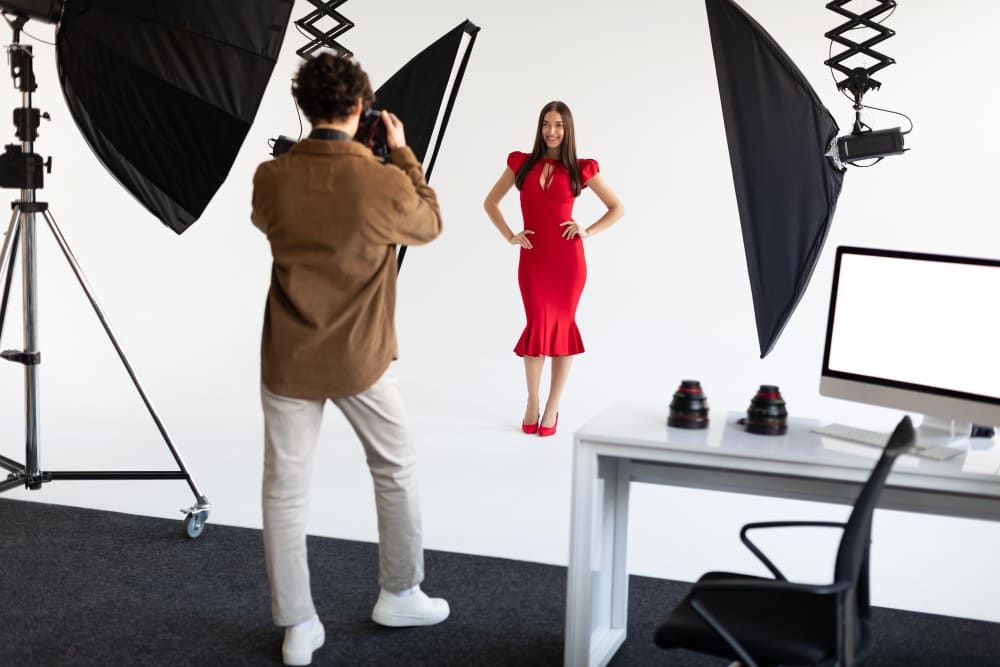
Studio Clothing Photography:
Photography studios offer an upgraded version of flat-lay photography. Everything looks professional with proper backdrops, props, studio lighting, and photography gear. The high-fashion interior design gives your clothing photography a clean and cohesive look.
Studio photography can be done in several ways. You can hire models for a realistic presentation of your clothes.
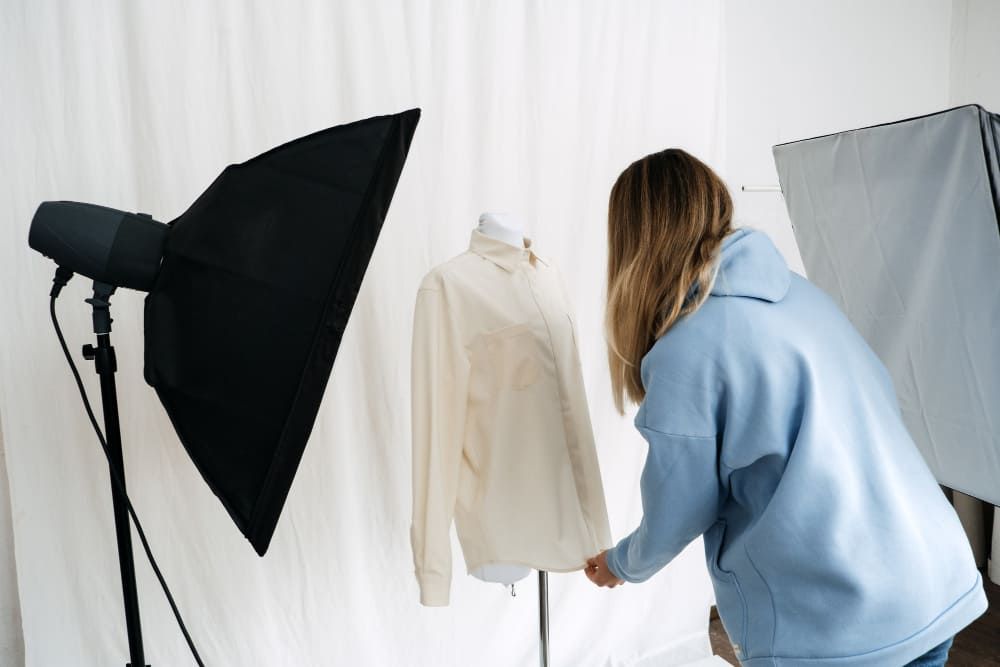
Alternatively, you can use mannequins to display the garments just the way you want them. Mannequin shots are generally quicker without the distraction of posing and touch-ups.
Or, if you prefer, you can use ghost mannequin techniques. After taking the picture you can remove the mannequin parts, making it look like a ghost is wearing the clothes. It may sound funky, but trust me, such a style provides the clearest garment shots.

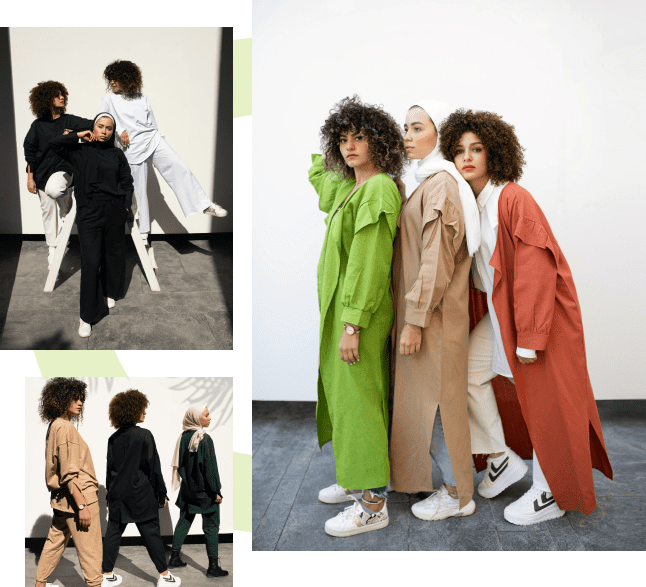
Outdoor Photoshoots:
If you want to give your clothing photoshoot a lifestyle vibe with outdoor aesthetics, then this is the one. Here, you can try different conceptual shoots for your clothes. Such photoshoots look more lively than staged ones. With scenic backgrounds and more reliable lighting, you can easily capture all the details and textures of the garments authentically.
How to Take Pictures of Clothes: A Step-by-Step Guide
When taking photos for your clothing line, you need to make them look professional. Clear, good-quality photos determine the value of your products. Only experience and practice can make your photographs look better than amateur photoshoots.
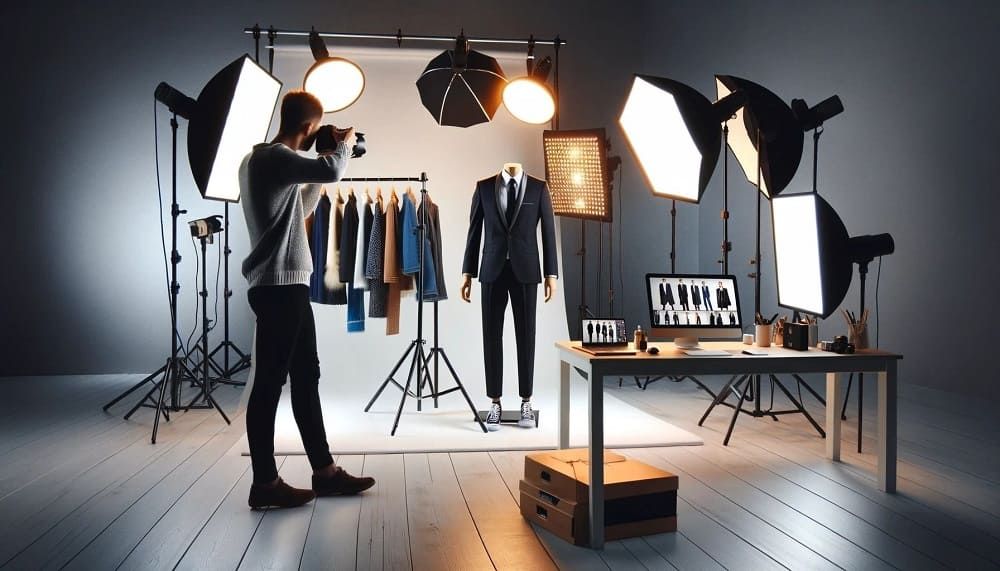
Collect all the Photography Equipment
For professional photography, the right equipment plays a great role. Depending on the budget you set, buy the necessary equipment. It doesn't mean you have to start with a high price. There are so many great equipment options available at a great price deal.
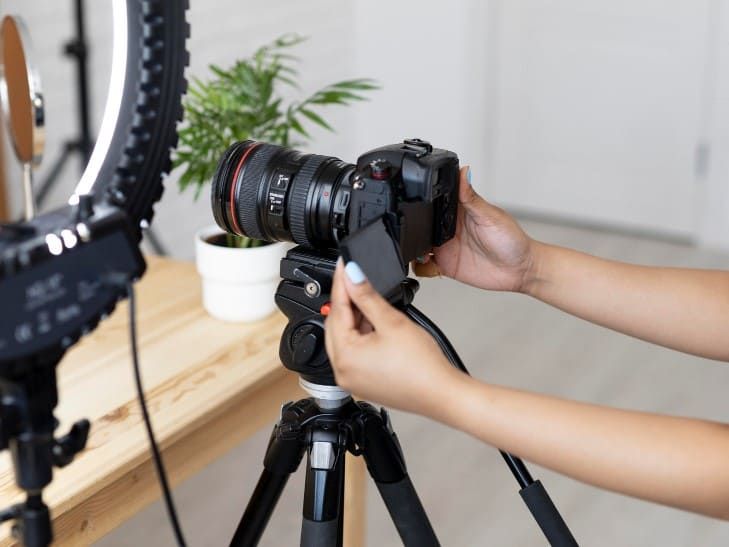
The first photography equipment and the most important one is the camera. You don't need the most expensive one to take good pictures. If you have a good quality smartphone, you can capture photos using that as well.
Next, you need a tripod. Shaky photos are not a good look, and it can happen anytime without a tripod. The tripod simply attaches to the camera to give you support during the photoshoot. It helps to frame the clothes and shoot.
Now you have to arrange lighting for the photoshoot. If your room has an ample amount of natural light, you can utilize that. But if you don't, you need artificial lighting like softboxes.
Ready the clothes for the shoot
Must check the clothes before the photoshoot. There can be any sort of tear or spots. If you capture the clothes with all these, it can make your photoshoot look unprofessional. So make sure your clothes are in pristine condition and properly ironed, the buttons are all in the right place, and no threads are peeking out.

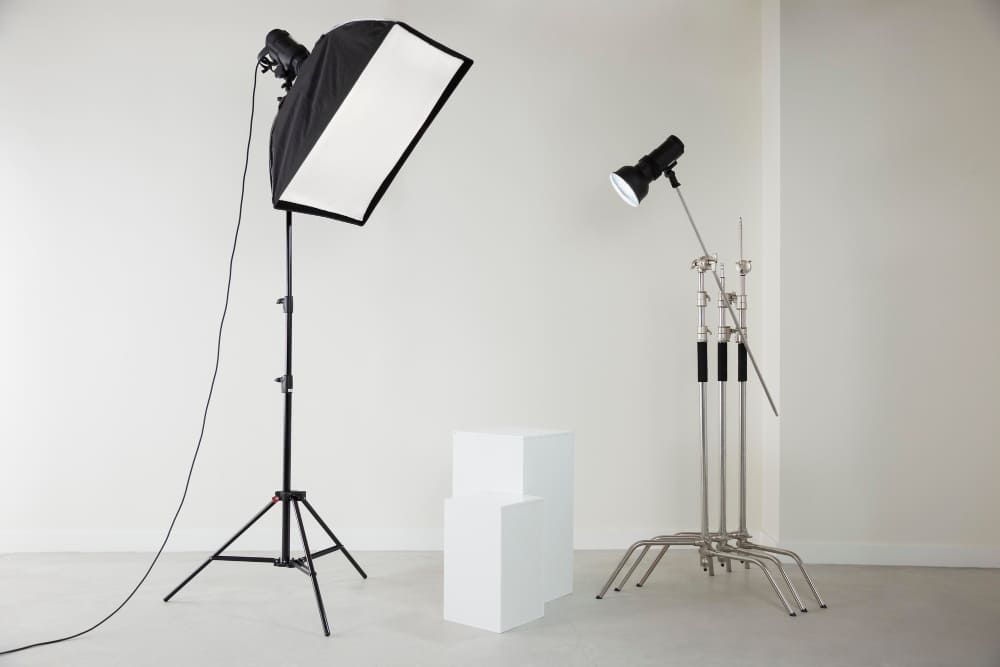
Best lighting for apparel photography
Once you prepare the clothing for the photoshoot, it's time to set the light. Using a softbox, you can create a key light source for the product. Keep the lighting output between 80 to 100% as it offers an ample amount of light to the product.
Use a diffuser to create even lighting.
Position the lighting from the product at a 45-degree angle. It adds depth and texture to your photography and gives unique dimensions to your photoshoot.
You can use reflectors to bounce the light back onto the product. It reduces the shadow, creating more even lighting from all sides. Place the reflector opposite of the light source. You can also experiment with different angles.
Is ring light right for apparel photography?
One of the popular equipment among professional photographers is using a ring light. You can attach the ring light to the camera. It comes with different color adjustments and brightness settings. It helps to capture the right color balance onto the product.
You can use around 3200k color temperature to achieve the warm tone, and 5500k for a cooler tone.
What is the best background to photograph clothes?
For any fashion photographer, choosing the right background is important. A simple background can help set the aesthetic tone for the shoot.
One popular choice is cyclorama. It's a white background that makes any clothing photography look 100 times better. But the downside is it can be expensive. If you can invest in that, you will be sorted out for a lifetime.
Another option you can try is foam board. They are lightweight, portable, and inexpensive. It helps to reflect the light into the shadow, resulting in a good-quality image.
Paper rolls are also great for a white background for the shoot. You can even experiment with colored paper rolls.
Select the best camera setting
The balancing act is the key to fashion photography. You need to know the best shutter speed and aperture for the photograph.
Consider an aperture of f/5.6 or 8 for the best focal length. For close-up shots, choose an aperture of 1.4 or 2.8.
The shutter speed around 1/250 is great for photographing clothing. You have to check the exposure meter and histogram to make sure the photo is clicking correctly. If you see the shoot comes out overexposed, keep the shutter speed around 1/500.
Play with different angles
Taking your clothing photographs on your own gives you the creative freedom to plan out multiple angles. Shoot your products from all sides to capture all the details. From full body length to intricate designs of the fabrics - don't forget to capture it all. Seeing all these, your target consumers can easily determine the quality of your clothes.
Set up the photoshoot environment
The right space can result in a killer photoshoot. If you have all the equipment ready but don't have the right space, well, it won't help your photoshoot.
Here you need to be creative and select a place that goes with your product motto. It's worth investing in the right space to do the best work.
If you are ready for a conceptual photoshoot, go for that. For that, you need to brainstorm and plan a mood board on how you want your product presented.
You can plan an outdoor photoshoot or create your photo studio with the help of a little DIY. An impactful visual effect is what attracts the customer most.
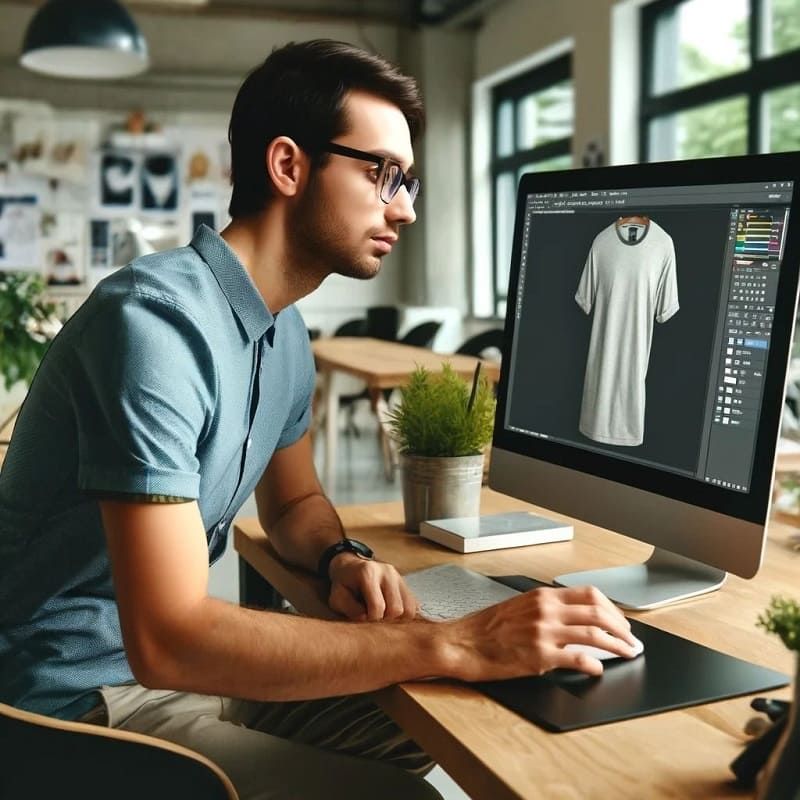
Edit and optimize the Photos for the website
Editing and optimization are the two last final steps for the apparel photos. Take help of the photo editing software like Adobe Photoshop and Lightroom to fine-tune the images. You can also use a professional photo editing service like bZm Graphics for top-notch results.
Adjust the color to give it a cohesive and polished look. Tone down the color where needed. Play with the brightness, contrast, saturation, ambiance, highlights, shadows - all that give clarity and sharpness to your image.
You can also crop out the unwanted parts to give your photos a neat and organized look.
Now, the next and last step is to optimize it. Make sure you resize the image. Compress the image so it won't slow your site. The right image size should be 1028x680 pixels.
Must add Alt attributes so the browser can properly understand what your images are about.
Choose the right image file format for the website. It can be in PNG, JPEG, SVG, or WebP. Make sure to consider compatibility and opt for the format supported by your website.
And that's how you can execute clothing photography...
Final Thoughts
Learning is never-ending. Photography skills take time. So don't fret if your first-time clothing photography doesn't come out as you anticipated. Take time to understand the mistakes and choose the right equipment. And this guide is always here to help you out with your clothing photography. We are here to make sure your clothes look the ultimate best in photos. Keep learning and keep trying...
Written by
Isabella Garcia