Studio Lighting for Headshot Photography
Master studio lighting for headshot photography. Create professional images that clients love and boost your studio's revenue.

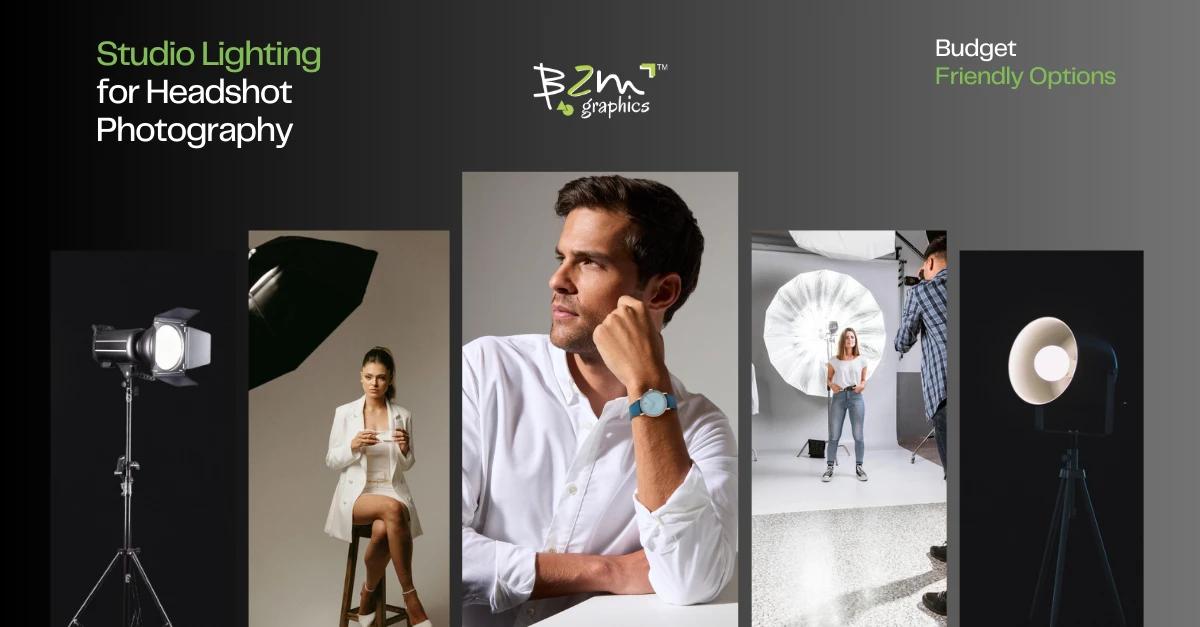
If you’re a photographer, you already know headshots are big business. From LinkedIn profiles to actor portfolios, a great headshot can make a career. In fact, a 2023 report by IBISWorld pegs the U.S. photography industry at $10 billion, with headshots accounting for nearly 20% of studio revenue. Yet, 65% of clients in a Professional Photographers of America (PPA) survey said lighting quality directly impacts their choice of photographer. So, how do you nail studio lighting for headshots? Let’s break it down.
Lighting Role for Headshots
Think about the last headshot that caught your eye. Chances are, the lighting sculpted the subject’s face like a Renaissance painting. Poor lighting, on the other hand, can turn even the most photogenic subject into a flat, shadowy mess. According to PPA, 78% of clients rank lighting as the #1 factor in headshot quality.
In the U.S., where competition is fierce (there are over 200,000 photographers nationwide), mastering lighting isn’t optional—it’s survival. Corporate clients, actors, and influencers demand crisp, professional shots that convey confidence. And with 70% of photographers using studio lighting for headshots (vs. 30% relying on natural light), understanding your gear is non-negotiable.
Basic Lighting Setups: Keep It Simple, Yet Effective
Let’s kick things off with the basics. You don’t need a fancy studio with a dozen lights to create amazing headshots. In fact, some of the best results come from just one or two lights. Here’s how to make it work:
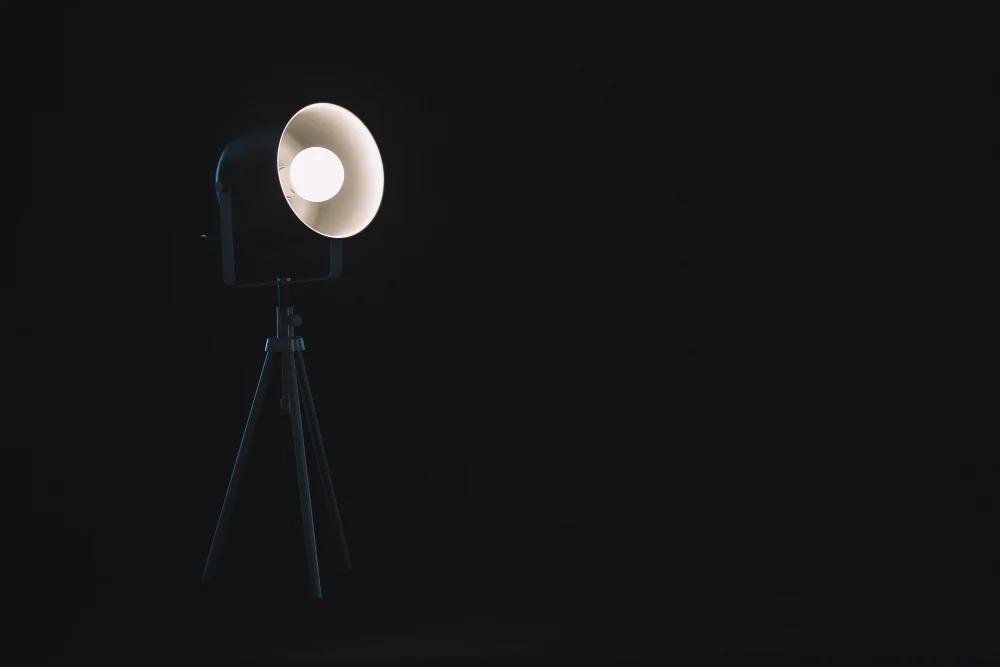
One-Light Setup: Beginner’s
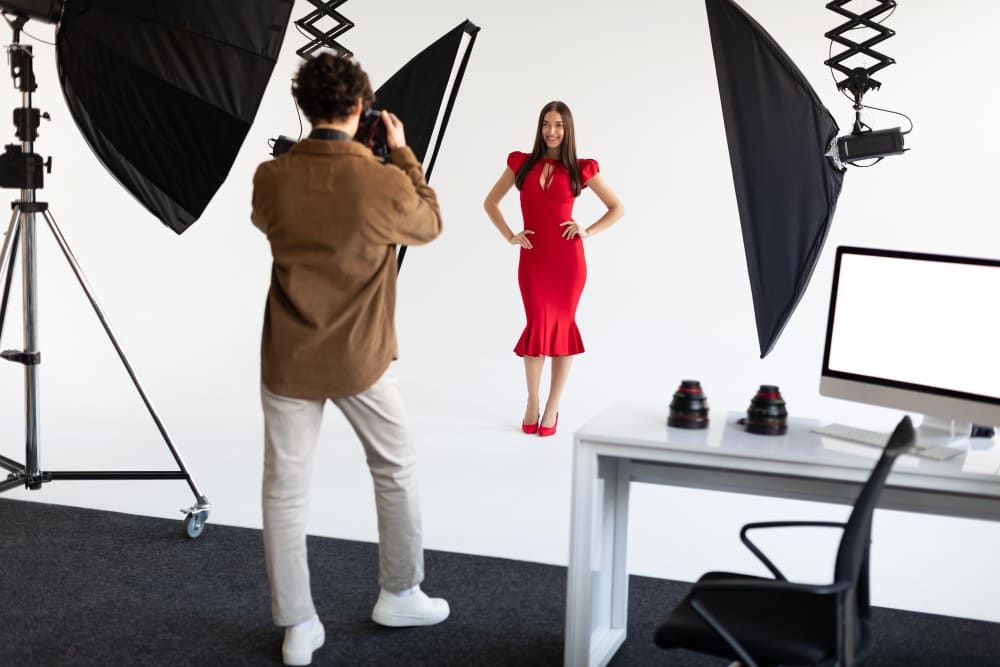
If you’re new to headshot photography or working in a tight space—like a home studio in your garage—a one-light setup is perfect. All you need is a single light source (think strobe or continuous light) paired with a large softbox or umbrella. Position it slightly above your subject’s eye level and at a 45-degree angle to their face. This creates soft, even light that’s flattering for almost anyone.
Why does this work so well? The softbox or umbrella diffuses the light, spreading it out to reduce harsh shadows and give your subject that polished, professional glow. It’s simple, affordable, and ideal for photographers across the USA who are just starting out or keeping things minimal.
Two-Light Setup: Adding Depth and Control
Ready to level up? A two-light setup gives you more flexibility and depth. Here’s a step-by-step breakdown:
- •Key Light: This is your main light, the star of the show. Place it at a 45-degree angle to your subject, about 2-3 feet away. It’s the brightest light and sets the tone for the image.
- •Fill Light: Position this second light on the opposite side of the subject, but dial it down to a lower power. Its job is to soften the shadows created by the key light without overpowering it. Don’t have a second light? No problem—a reflector can bounce light back onto the subject’s face for a similar effect.
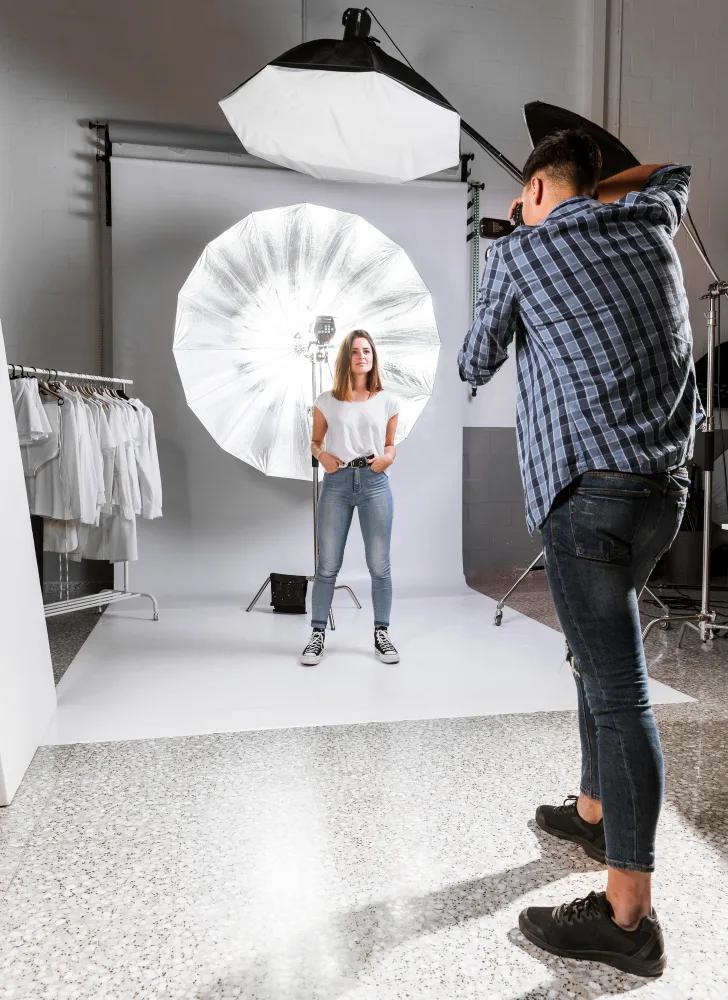
This setup is a favorite for corporate headshots, actor portfolios, and anything requiring a balanced, professional vibe.
Types of Lights: Strobes vs. Continuous Lights
Now, let’s talk about gear. When it comes to studio lighting for headshots, you’ve got two main players: strobes and continuous lights. Each has its strengths, so let’s break it down.
Strobes
Strobes are powerful flashes that fire off a burst of light when you snap the photo. They’re the go-to for many headshot photographers in the USA because they’re versatile, portable, and pack a punch. Whether you’re shooting in a high-end studio or a pop-up setup, strobes give you the power to freeze motion (not a huge deal for headshots, but still handy) and control light precisely. Brands like Profoto and Godox are big names here—popular for their reliability and quality. Plus, strobes run cooler and use less energy, which is great for long sessions.
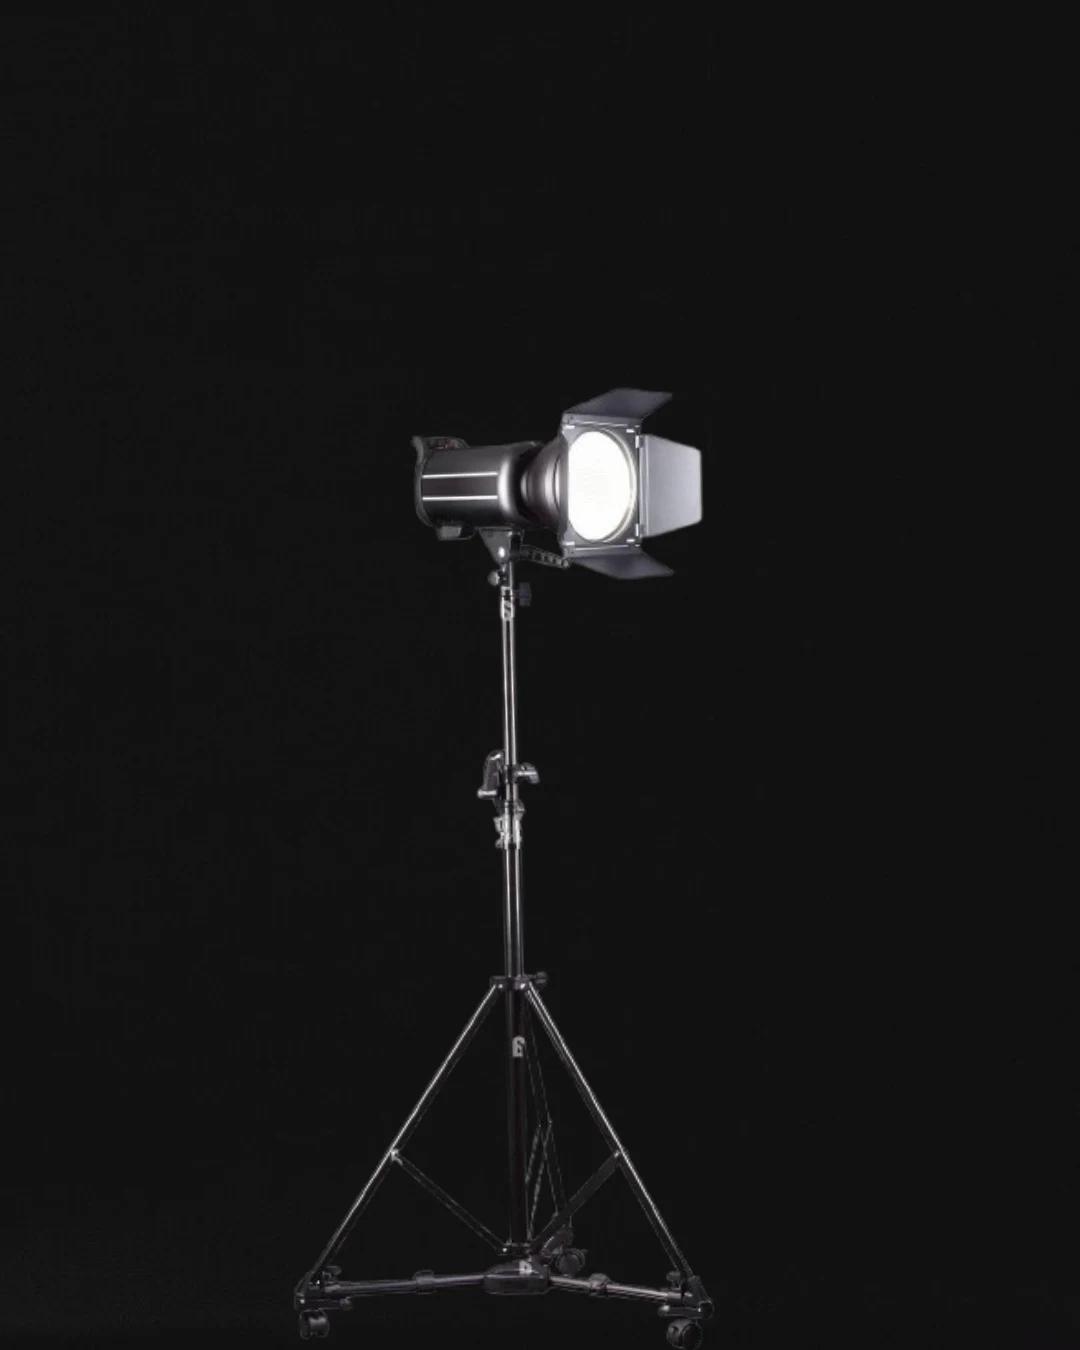
Continuous Lights
Continuous lights, on the other hand, stay on the whole time. What you see is what you get, which makes them a dream for beginners. You can adjust your subject and see the lighting effects in real-time—no test shots needed. The downside? They can get hot, and they’re often less powerful than strobes, which might limit your options for certain setups.
For headshots, strobes tend to win out among pros due to their flexibility, but continuous lights are a solid starting point if you’re building your kit on a budget. It’s all about what fits your style and workflow.
Common Mistakes (And How to Dodge Them)
We’ve all been there—messing up a shoot because the lighting wasn’t quite right. Here are some pitfalls to avoid when setting up your studio lights for headshots:
- •Harsh Lighting: Using a bare light or skipping the diffuser can cast ugly shadows on your subject’s face. Always soften your light with a softbox or umbrella—trust me, it’s a game-changer.
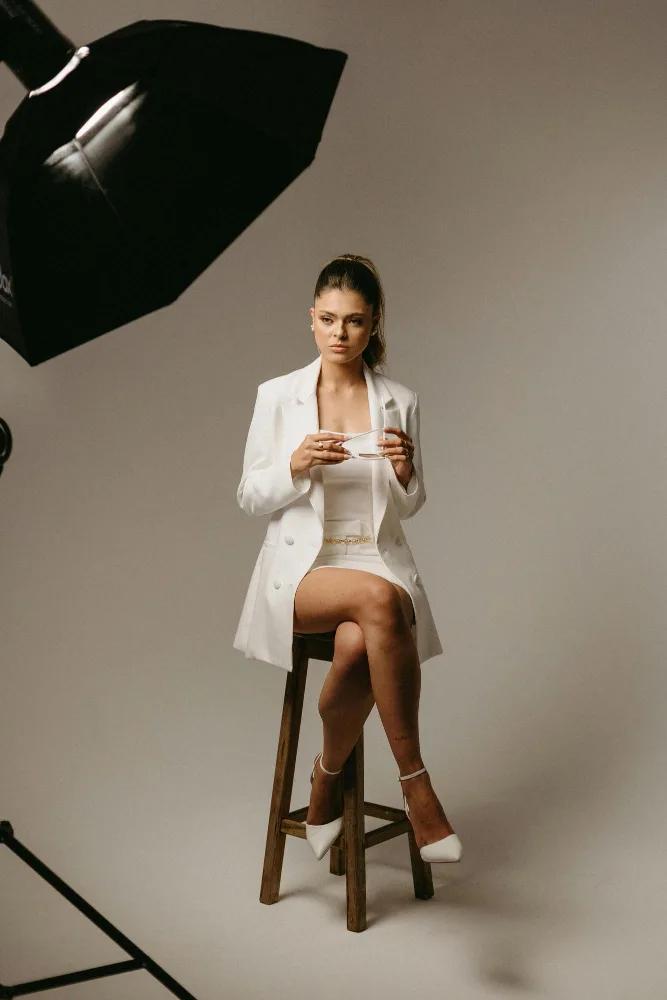
- •Missing Catchlights: Those little sparkles in the eyes? They’re called catchlights, and they make your subject look alive and engaging. Position your key light so it reflects in their eyes—aim for 10 or 2 o’clock relative to their gaze.
- •Overdoing It: It’s tempting to throw in extra lights for a “dramatic” effect, but headshots usually call for clean, simple lighting. Keep it focused on flattering the subject, not showing off your gear.
I’ll let you in on a little story: when I first started, I used a bare flash for a headshot session. The results? Harsh shadows and a client who wasn’t thrilled. It wasn’t until I grabbed a softbox that my photos went from “meh” to “wow.” Lesson learned—diffusion is your secret weapon!
Tips for Positioning Your Lights
Getting the placement right is where the magic happens. Here are some tried-and-true tips:
- Height: Set your key light just above eye level, angled slightly downward. This mimics natural sunlight, creating flattering shadows under the chin and cheekbones.
- Distance: Closer light = softer light. For headshots, you want that soft glow, so position your light 2-3 feet from your subject. Too close, though, and you might distort their features—find the sweet spot.
- Angles: Start with a 45-degree angle for the key light—it’s a classic for a reason. For the fill light, place it opposite to balance things out.
Here’s a pro move: always check your setup through the camera lens. What looks good to your eye might shift when you’re behind the viewfinder, so take test shots as you adjust.
Lighting the Background
Your subject’s the star, but a well-lit background can take your headshot to the next level. Here’s how to handle it:
- Even Lighting: For a solid color backdrop (white, gray, or black), use a third light to wash it evenly. This keeps it clean and distraction-free—perfect for professional headshots.
- Gradient Effect: Want something with a bit more flair? Angle your background light to create a subtle fade from light to dark. It adds depth without stealing focus.
The trick? Keep the background subtle. It’s there to support your subject, not compete with them.
Budget-Friendly Options
Think studio lighting means draining your bank account? Think again. You can get professional results without spending a fortune. Here’s a starter kit for under $500:
- Godox AD200: A powerful, portable strobe for around $300. It’s a favorite among US photographers for its bang-for-buck value.
- Neewer 60-Inch Umbrella: Pair it with your strobe for soft, diffused light—about $30.
- 5-in-1 Reflector: Use it as a fill light for under $20.
With this setup, you’re ready to roll, whether you’re in a bustling city or a rural corner of the USA. As your business grows, you can add more gear, but this gets you started with quality results.
Practice | Practice | Practice
Here’s the truth: no amount of reading beats hands-on practice. Every subject’s face is different—lighting that flatters one person might not work for another. Set up a mini studio at home, grab some willing friends or family, and experiment. Try different angles, distances, and modifiers. The more you shoot, the more you’ll develop an instinct for what works.
Stats back this up too—photographers who regularly practice their lighting techniques report a 30% higher client satisfaction rate. It’s not just about gear; it’s about knowing how to use it.
Wrapping It Up
So, there you have it, folks. Studio lighting for headshot photography doesn’t have to be intimidating. With a simple one- or two-light setup, the right gear (strobes or continuous), and a focus on flattering your subject, you can create headshots that wow your clients. Avoid those common mistakes, play with positioning, and don’t sleep in the background—it all comes together to shine your work. Whether you’re on a budget or ready to invest, there’s a setup for you. And with the headshot market booming across the USA, now’s the time to grow.
As photographers, we’re always learning, tweaking, and growing. Studio lighting is just one piece of the puzzle, but it’s a big one for headshots. So, keep practicing, keep experimenting, and keep shooting. What’s your go-to lighting setup for headshots, and what’s the next technique you’re excited to try?
Written by
Isabella Garcia