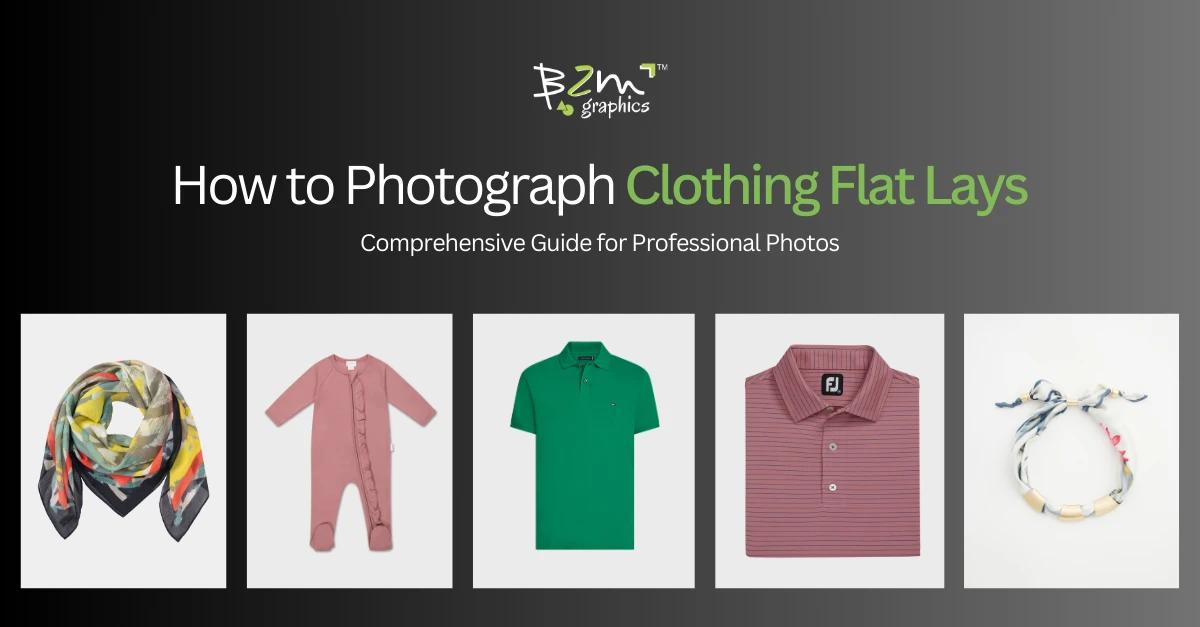
How to Photograph Clothing Flat Lays: Comprehensive Guide for Professional Photos
Want to photograph clothing flat lays that stand out? Learn essential tips on styling, lighting, and editing to create professional-level shots.
Flat lay photography has become one of the most popular methods for showcasing clothing and accessories. Whether you're running an online shop, creating content for a fashion blog, or simply experimenting with photography, mastering flat lays is a skill worth perfecting. This post will break down the essential aspects of flat lay photography to ensure your clothing photos look professional, polished, and visually appealing.
What Is Flat Lay Photography?
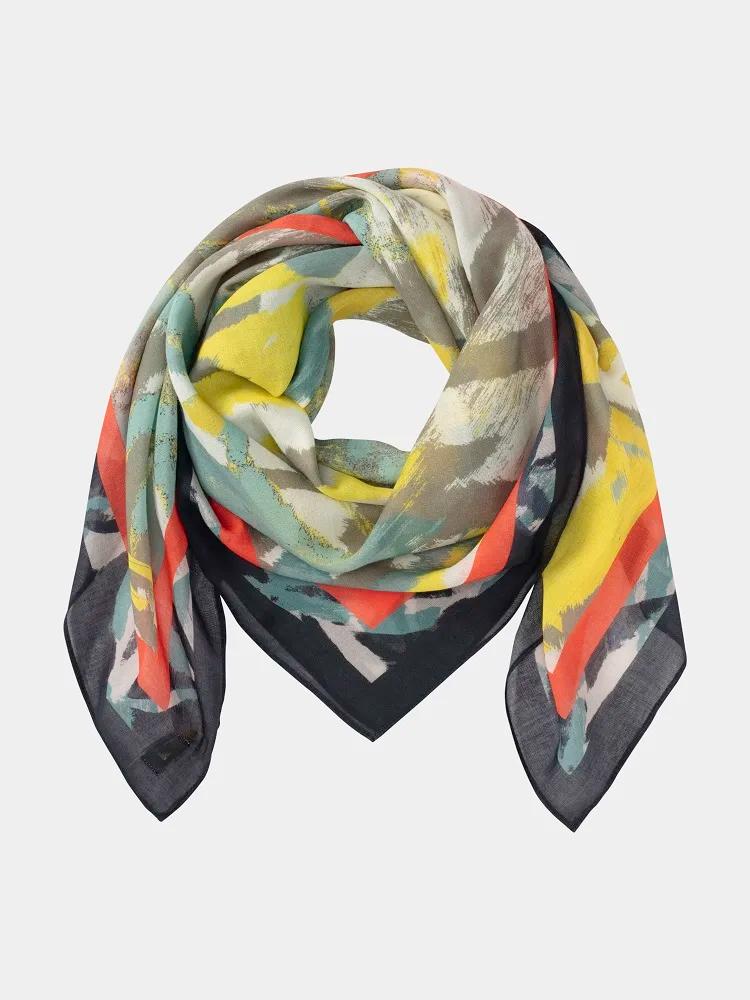
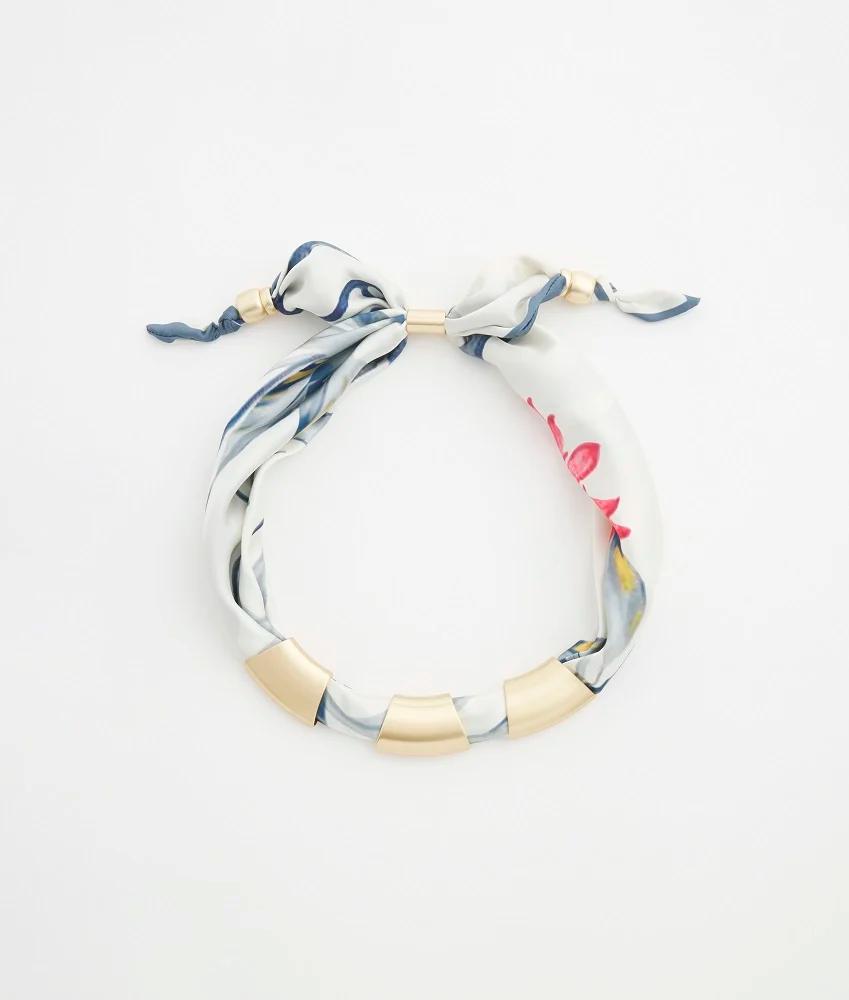
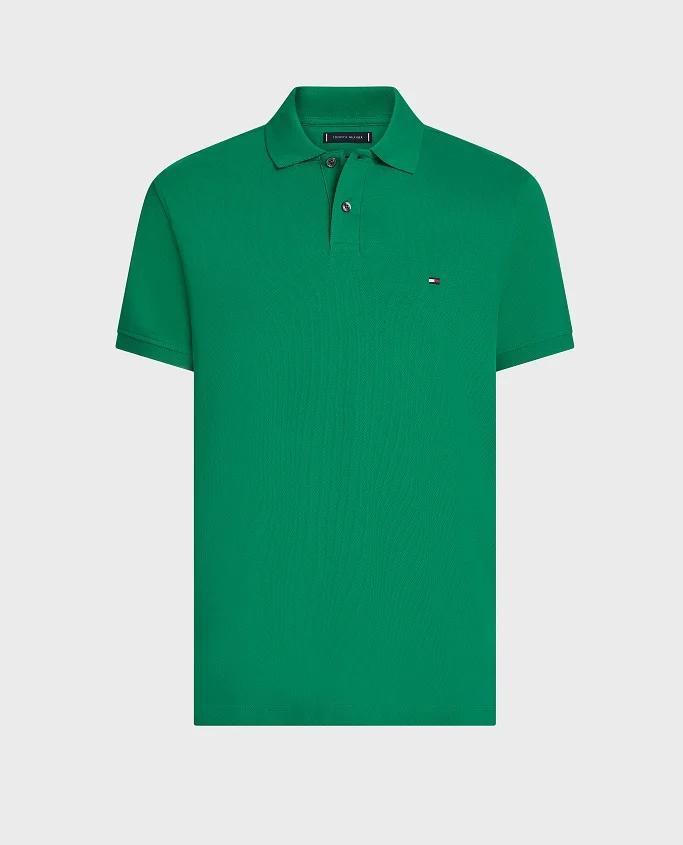
Flat lay photography is arranging items (clothing, accessories, etc.) on a flat surface and capturing them from directly above. This style gives the photographer space to showcase a scene or theme in an organized, visually compelling manner. Flat lays are especially popular in fashion, food, and lifestyle photography because they tell a story through a carefully curated set of objects arranged in a cohesive and artistic way.
Why Photograph in Flat Lay Style?
With the right composition and styling, it can help you showcase product,
- Highlight Clothing Details: Showcase fabrics, patterns, and textures clearly.
- Create Visual Narratives: Tell a story with props and clothing items, such as "a day in the life" or a curated collection.
- Appeal to Your Audience: A well-executed flat lay feels relatable, which resonates strongly on social media platforms like Instagram and Pinterest.
Equipment You Need for Flat Lay Photography
The right tools make all the difference in flat lay photography. Here's a list of essential equipment:
- •Camera: While smartphones are great for flat lays, using a DSLR or mirrorless camera offers more control over settings like focus, exposure, and depth of field. A 50mm lens is perfect for flat lays because it minimizes distortion around the edges.
- •Tripod or C-Stand: Stability is key when shooting flat lays. A tripod or C-stand will help you keep your camera steady above the arrangement, preventing any shake or blur during the shoot. If you're working with larger compositions, a C-stand might offer more flexibility.
- •Lighting: Proper lighting makes your flat lay come to life. Natural light is ideal, especially when positioned near a window. If you're shooting indoors, use reflectors or a softbox to soften the light and eliminate harsh shadows.
- •Backdrop: The background should complement, not overpower, your arrangement. Choose neutral, textured surfaces (wood, marble, fabric) to add depth and interest without distracting from the main subject.
How to Style Your Flat Lay: Tips for Professional Looks
Creating a visually compelling flat lay is a blend of art and technique. Here’s a step-by-step breakdown to help you elevate your flat lay photos:
- •Define the Theme: Before starting, decide on the story you want to tell. Is it a casual day look, a business outfit, or a cozy winter ensemble? The theme guides your prop selection, color palette, and overall vibe of the shot.
- •Select the Hero Piece: Choose the standout item in your flat lay - usually a piece of clothing like a jacket, shoes, or accessory. This hero item will be the focal point of your image, so place it prominently in the center or a third of the way into the shot.
- •Arrange Complementary Props: Props are crucial for enhancing the mood and adding context. For fashion flat lays, think of sunglasses, jewelry, bags, or even a coffee cup to set the scene. Use props to balance the composition without overcrowding the frame.
- •Mind the Color Palette: Keep a consistent color scheme throughout your flat lay. Too many contrasting colors can create visual chaos, while a harmonious palette adds elegance and sophistication. Consider the mood you're trying to evoke: warm tones for a cozy feel or cool tones for a sleek, minimalist aesthetic.
- •Add Textures and Layers: Introduce visual interest by incorporating different textures - soft fabrics, smooth leather, rough wood, etc. Layering elements like a scarf over a sweater or a magazine beneath a watch can help create depth.
Lighting Techniques
Great lighting can transform an average flat lay into a showstopper. Here are some lighting tips to achieve clean, professional results:
- Natural Light: Shooting near a window during the early morning or late afternoon provides soft, diffused light that will illuminate your subject beautifully. Avoid direct sunlight as it can create harsh shadows and overexposed highlights.
- Bounce the Light: To avoid shadows, use reflectors (even a simple piece of white poster board works) to bounce light back onto the scene. This will fill in any dark spots and create a soft, even illumination across your flat lay.
- Artificial Light: If you're shooting indoors without access to natural light, consider using softboxes or LED panels. Position them at 45-degree angles to your setup to ensure the light is spread evenly. Adding a diffuser will further soften the light, preventing harsh reflections from shiny fabrics.
Aim for a neutral color temperature (around 5500K) to keep colors true to life. If you’re highlighting textures, use side lighting at an angle to create soft shadows that show the material’s weave or rigidity.
Minimize Shadows
Shadows can make your clothing look uneven or distorted. Use reflectors or additional lights to fill in shadows. If you’re using natural light, position your setup just out of direct sunlight to keep lighting even
Camera Settings for Professional Flat Lay Shots
Getting the right camera settings is essential for capturing sharp, well-lit flat lay photos. Here's how to fine-tune your camera:
- Aperture (f-stop): Use a smaller aperture (f/8 to f/11) for a deep depth of field, ensuring all elements in the frame are sharp and in focus.
- ISO: Keep the ISO low (100-400) to avoid noise in your image.
- Shutter Speed: Since you're using a tripod, a slower shutter speed can be used without risking motion blur. A speed of 1/60 to 1/125 should work well.
- White Balance: Set your white balance according to the lighting conditions, whether it’s daylight or artificial lighting. A gray card can help achieve accurate color representation.
- Focal Length: Use a lens with a focal length above 35mm to avoid distortion. A standard 50mm lens is a great choice.
Composition Tips
- Rule of Thirds: Divide your frame into a 3x3 grid and place key elements along the lines or intersections for a balanced composition.
- Leading Lines: Use the seams or edges of clothing to guide the viewer’s eye through the photo.
- Negative Space: Leave some empty space to make your composition feel airy and highlight the main subject.
- Perspective: Shoot straight down to avoid distortion. If you want a dynamic angle, tilt the camera slightly but ensure the clothing still looks natural.
Take multiple shots with slight variations in arrangement or angle to give yourself options during editing
Post-Processing for the Perfect Flat Lay
Even the best flat lay shots can benefit from a little editing. Here’s how to enhance your images:
- •Crop and Align: Straighten the image and crop out any distracting elements. Crop closer to the subject to create a more intimate feel or leave more space if you're adding text or graphics.
- •Adjust Exposure and Contrast: Fine-tune the exposure to brighten the image and use contrast to make the clothing and props pop. Be careful not to overdo it, as too much contrast can create harsh shadows.
- •Enhance Colors: Increase saturation slightly to make colors more vibrant, but don’t go overboard. A subtle boost in vibrancy can make your clothing stand out without making the image look unnatural.
- •Retouch: If necessary, remove blemishes or wrinkles from the clothing using a spot removal tool. This ensures that your flat lay looks polished and professional.
Common Mistakes to Avoid
Here are some pitfalls to steer clear of:
- Overcrowding the Frame: Too many items can make your photo look messy. Focus on the key pieces and give them space to shine.
- Poor Lighting: Harsh or uneven lighting can ruin your setup. Ensure soft, even illumination to flatter the clothing.
- Distorted Perspectives: Shooting from too low or at an angle can distort the clothing’s shape. Stick to a straight-down perspective for accuracy.
- Distracting Backgrounds: A busy background can pull focus from the clothing. Choose a complementary, uncluttered surface
Flat Lay Photography: Key Considerations
- Best For:
- Flat Lay Photography: Product details, storytelling
- On-Model Photography: Full outfit presentation
- Ghost Mannequin: Clothing fit
- Lighting Control:
- Flat Lay Photography: High
- On-Model Photography: Moderate
- Ghost Mannequin: High
- Styling Effort:
- Flat Lay Photography: High
- On-Model Photography: Moderate
- Ghost Mannequin: Low
- Post-Processing:
- Flat Lay Photography: Moderate
- On-Model Photography: High
- Ghost Mannequin: High
Conclusion
With the right equipment, styling techniques, and editing, you can create stunning flat lay photographs that highlight your clothing in a way that feels both professional and engaging. Focus on the story you're telling, the props you use, and the lighting setup to elevate your flat lay shots. Whether you're capturing a simple outfit or telling a more complex story, mastering flat lay photography can elevate your brand and your content.
Now that you have a thorough guide to photographing clothing flat lays, it’s time to experiment and start creating those eye-catching, professional photos that will leave a lasting impression on your audience.
Written by
Mary Smith